この記事は3年以上前に書かれた記事で内容が古い可能性があります
WordPress(aws_bitnami)のssl対応
※20200927更新
こちらの新しい記事も参照ください
WordPressのSSL化
結構奮闘したのでメモ
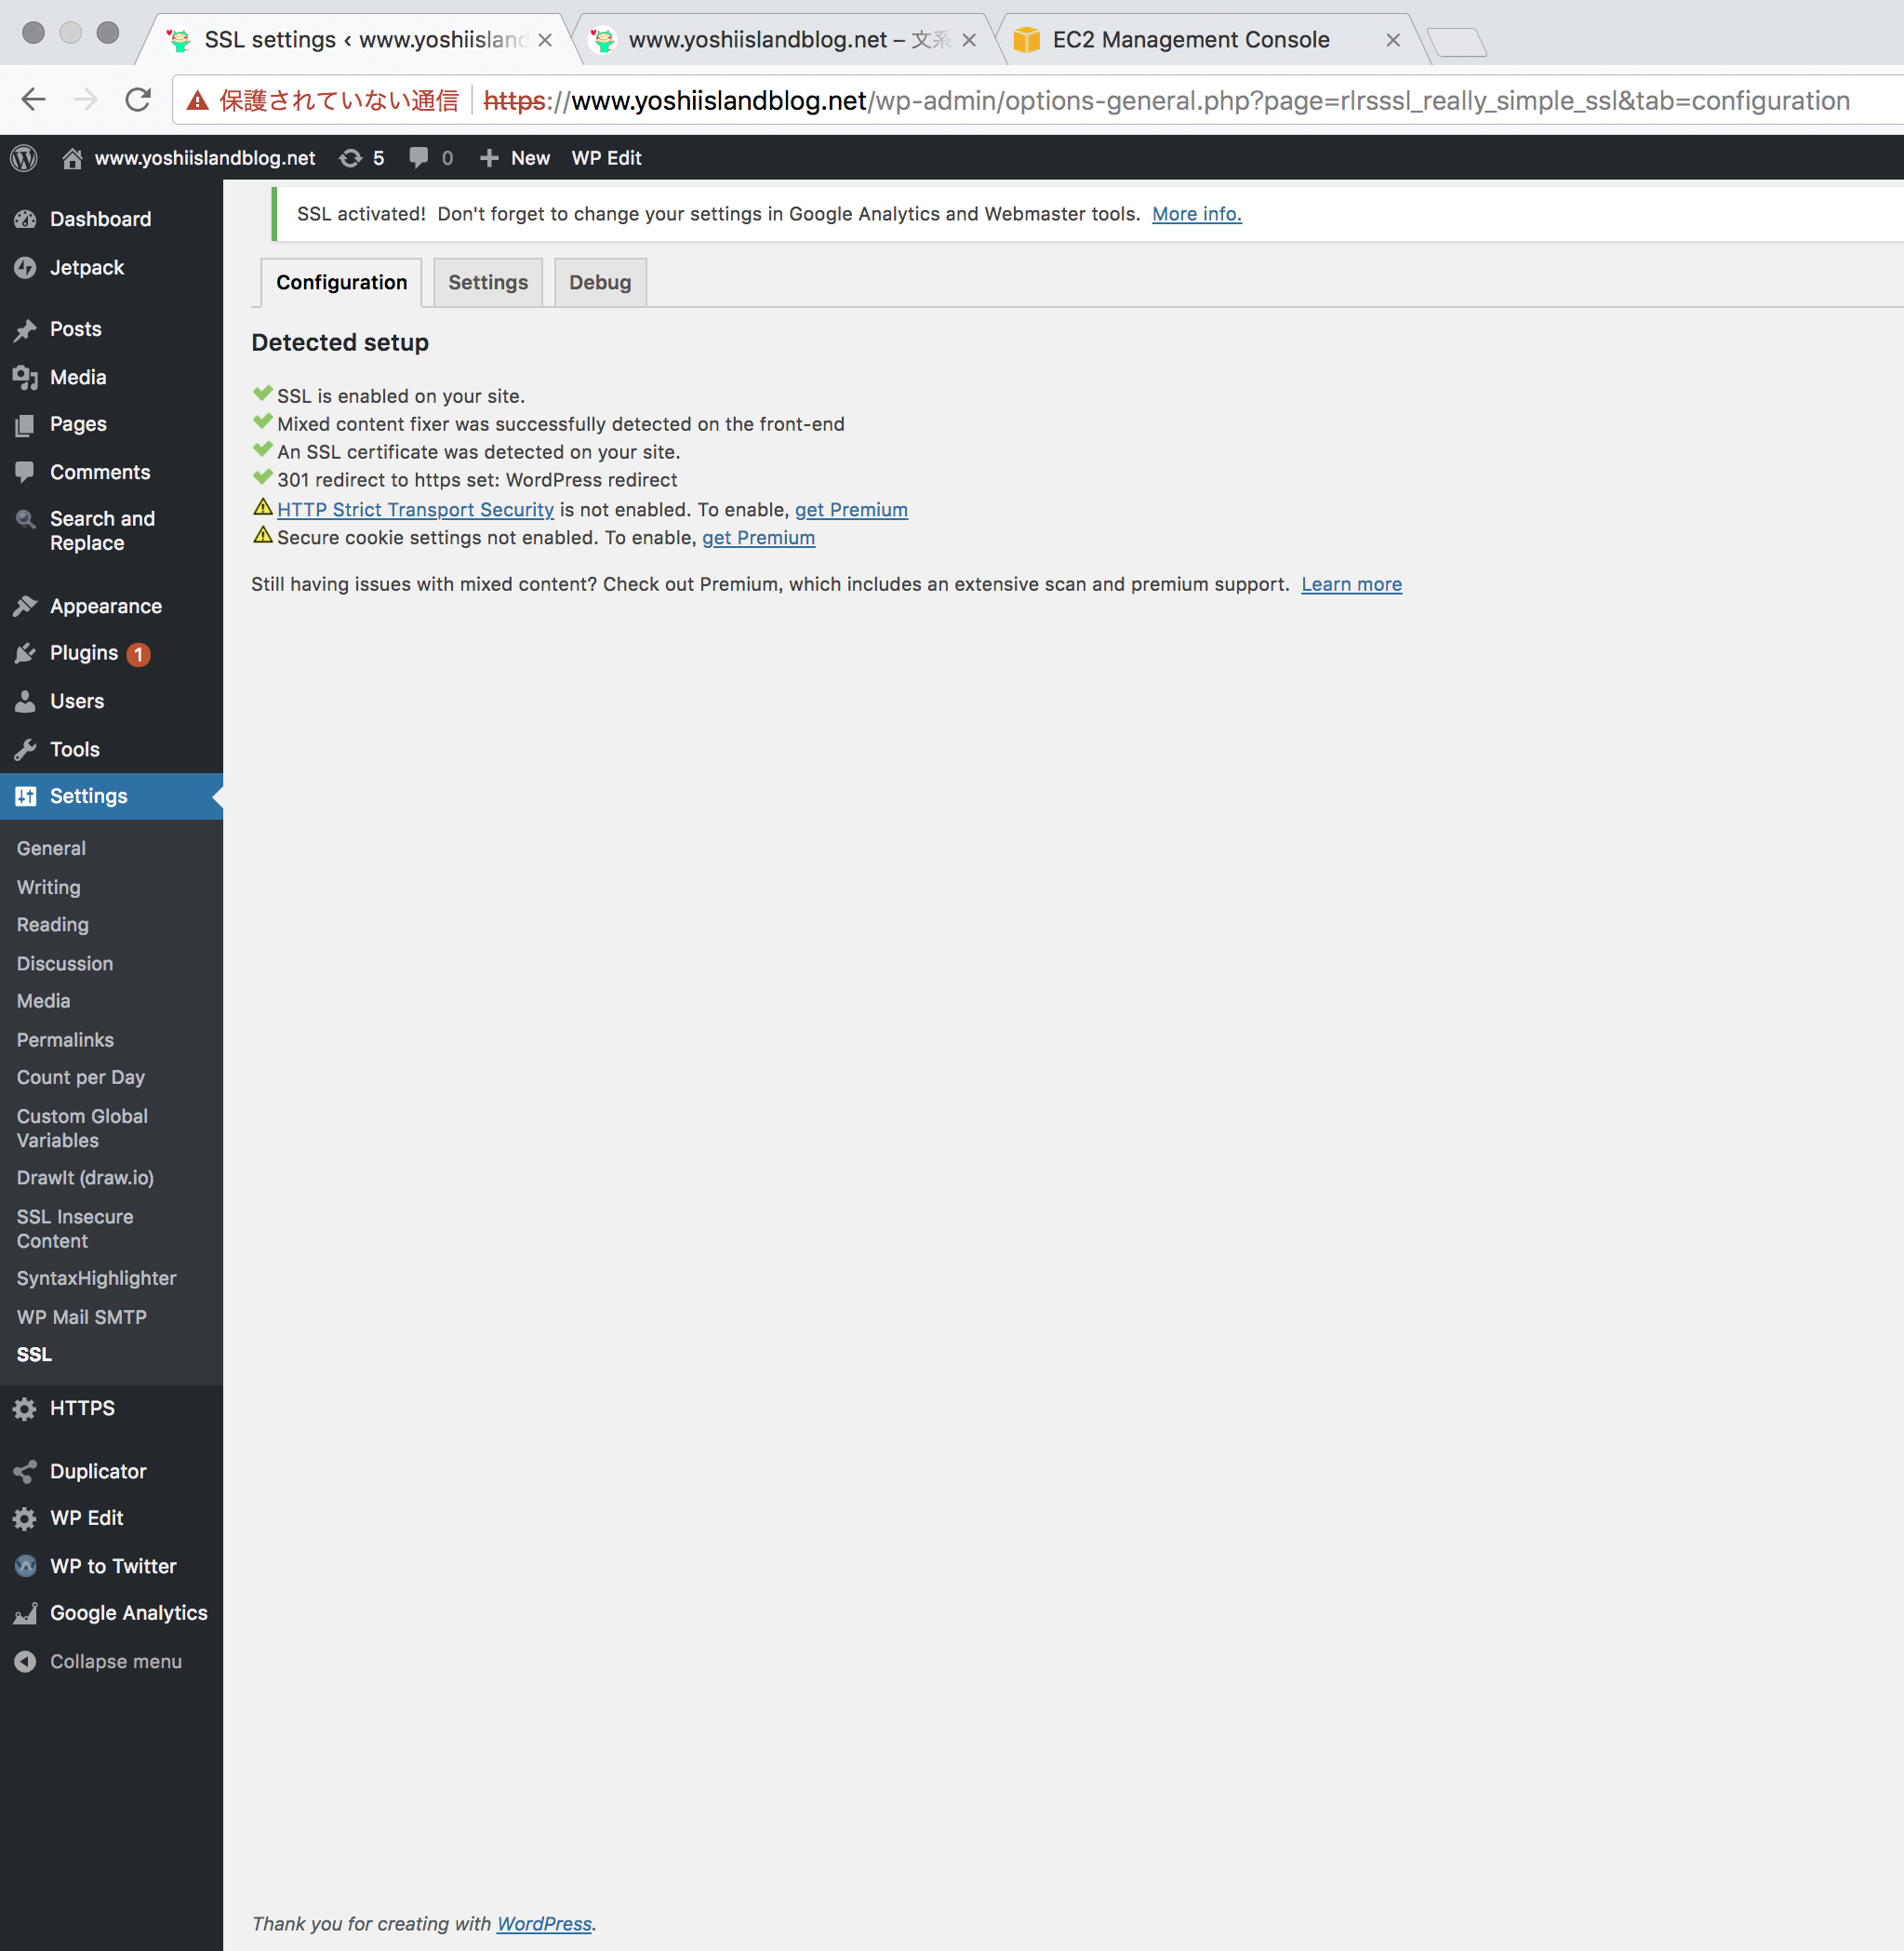
Really Simple SSLをインストール
まずは、httpsでアクセスできるようにする
Really Symple SSLを使用した
https://really-simple-ssl.com/
これでhttpsアクセスできるようになるが、
mixed content warningが出てしまうのと、
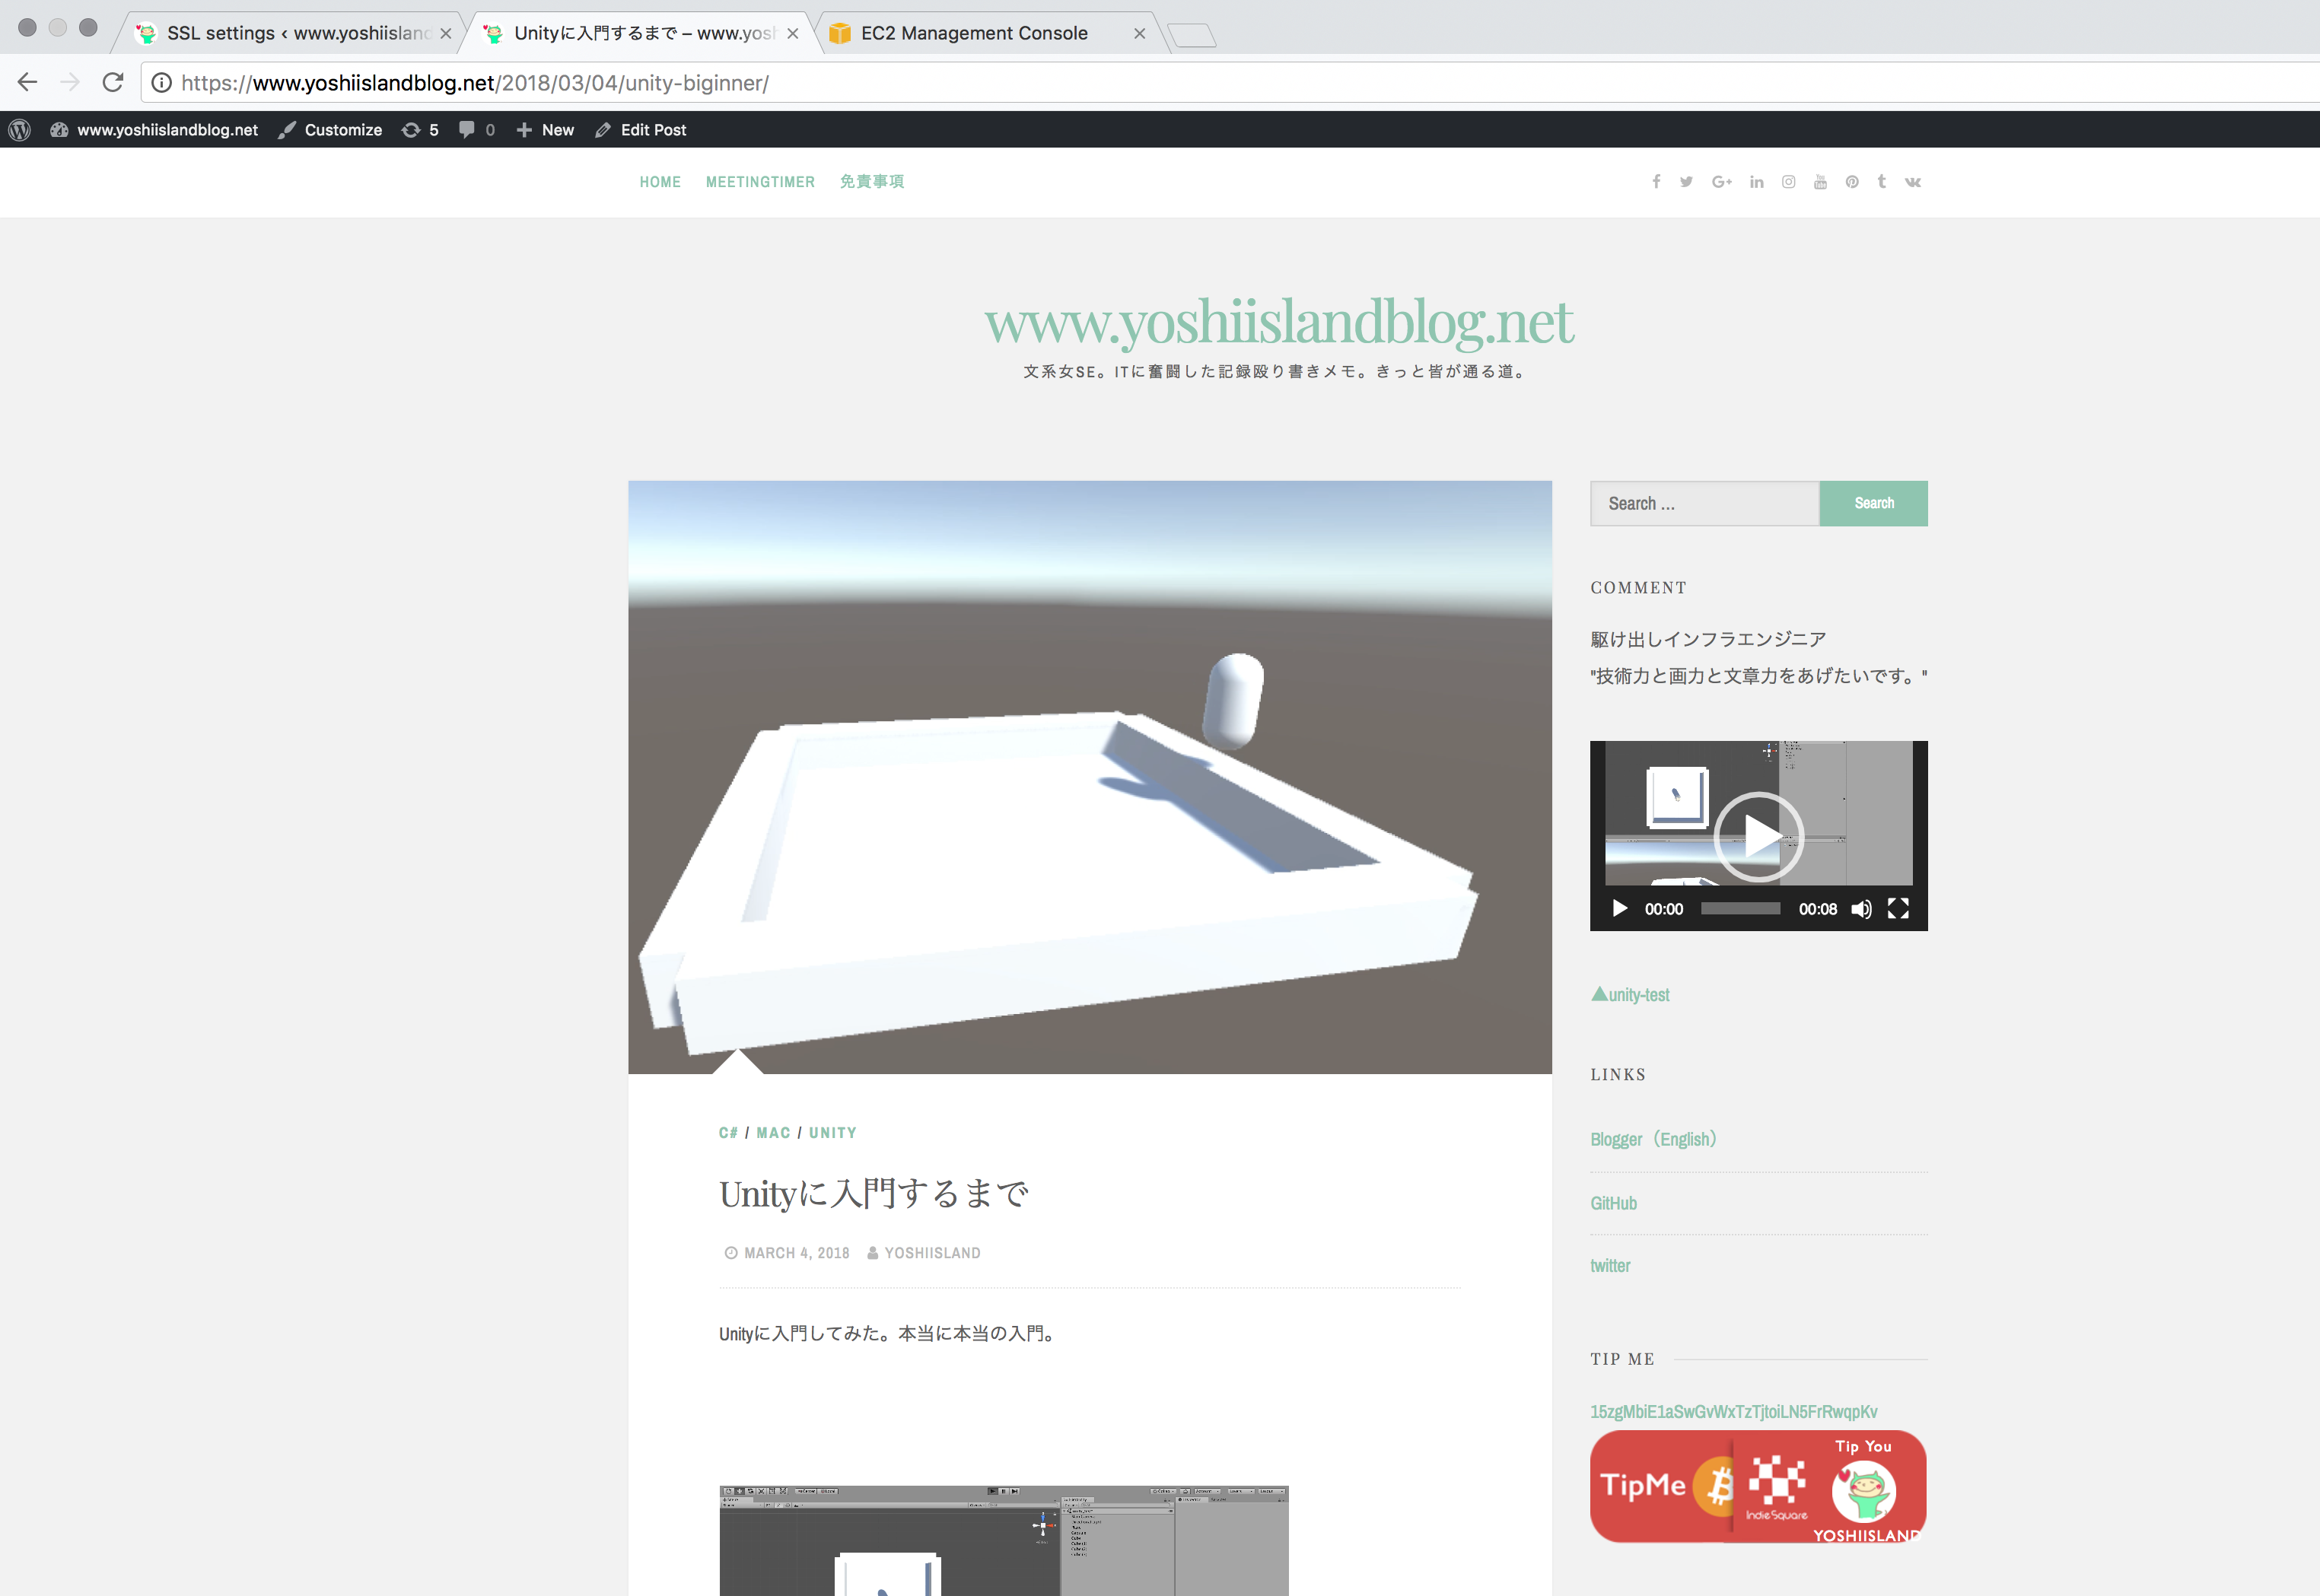
Untrust Pageとして赤い鍵マークが表示されてしまうので、それぞれ対処する
mixed content warning
この辺りの公式ページに対処法が載っているが、自分は画像リンクとページリンクがhttpのままであったことが原因だった
https://really-simple-ssl.com/knowledge-base/how-to-track-down-mixed-content-or-insecure-content/
以下のツールも使いつつ、地道に修正する。地道
https://ja.wordpress.org/plugins/ssl-insecure-content-fixer/
https://ja.wordpress.org/plugins/search-and-replace/
Certificateを適用
無料で使えるLet’s Encryptを使用する
# sudo apt-get install libcurl4-gnutls-dev libexpat1-dev gettext
# sudo apt-get install git
# git clone https://github.com/letsencrypt/letsencrypt
# cd letsencrypt
古い証明書が残っていたら、消しておく
# mv /etc/ssl/certs/ca-certificates.crt /etc/ssl/certs/ca-certificates.crt.backup
# sudo update-ca-certificates
発行
# ./letsencrypt-auto certonly -a standalone -d www.yoshiislandblog.net
...
Problem binding to port 80: Could not bind to IPv4 or IPv6.
エラーが出てしまうので、一度apacheをstopする
bitnamiなので以下のコマンドでstopする
# sudo /opt/bitnami/ctlscript.sh stop apache
再トライ
# ./letsencrypt-auto certonly -a standalone -d www.yoshiislandblog.net
...
IMPORTANT NOTES:
 - Congratulations! Your certificate and chain have been saved at:
 	...
   Your cert will expire on 2018-06-19. To obtain a new or tweaked
   version of this certificate in the future, simply run
   letsencrypt-auto again. To non-interactively renew *all* of your
   certificates, run "letsencrypt-auto renew"
   ...
Congratulationsと出てくるのでうまくいったと確認できる
Certificateには期限があるので確認しておく
諸々ファイルを修正していく
/opt/bitnami/apache2/conf/httpd.confはコメントを外す
# diff /opt/bitnami/apache2/conf/httpd.conf /opt/bitnami/apache2/conf/httpd.conf.20180321
500c500
< Include conf/extra/httpd-ssl.conf --- > #Include conf/extra/httpd-ssl.conf
/opt/bitnami/apache2/conf/extra/httpd-ssl.confはパスを自分の環境に合わせて変更する
# diff /opt/bitnami/apache2/conf/extra/httpd-ssl.conf /opt/bitnami/apache2/conf/extra/httpd-ssl.conf.20180321
144,145c144
< SSLCertificateFile "/etc/letsencrypt/live/www.yoshiislandblog.net/cert.pem"
< #SSLCertificateFile "/opt/bitnami/apache2/conf/server.crt" --- > SSLCertificateFile "/opt/bitnami/apache2/conf/server.crt"
155,156c154
< SSLCertificateKeyFile "/etc/letsencrypt/live/www.yoshiislandblog.net/privkey.pem"
< #SSLCertificateKeyFile "/opt/bitnami/apache2/conf/server.key" --- > SSLCertificateKeyFile "/opt/bitnami/apache2/conf/server.key"
167d164
< SSLCertificateChainFile "/etc/letsencrypt/live/www.yoshiislandblog.net/chain.pem"
apache起動、、できない
# sudo /opt/bitnami/ctlscript.sh restart apache
Unmonitored apache
AH00526: Syntax error on line 35 of /opt/bitnami/apache2/conf/bitnami/bitnami.conf:
Cannot define multiple Listeners on the same IP:port
apache config test fails, aborting
AH00526: Syntax error on line 35 of /opt/bitnami/apache2/conf/bitnami/bitnami.conf:
Cannot define multiple Listeners on the same IP:port
apache config test fails, aborting
Monitored apache
/opt/bitnami/apache2/conf/bitnami/bitnami.confの、「# Default SSL Virtual Host configuration.」以下をコメントアウトする必要があるとのこと
https://www.moor-triangle.com/2017/02/01/%E3%80%90aws%E3%80%91bitnami-wordpress%E3%82%92lets-encrypt%E3%82%92%E4%BD%BF%E3%81%A3%E3%81%A6%E7%84%A1%E6%96%99%E3%81%A7ssl%E5%8C%96/
# sudo /opt/bitnami/ctlscript.sh restart apache
Unmonitored apache
Syntax OK
/opt/bitnami/apache2/scripts/ctl.sh : httpd stopped
Syntax OK
/opt/bitnami/apache2/scripts/ctl.sh : httpd started at port 80
Monitored apache
今度は成功したが、サイトにアクセスできなくなってしまったので/opt/bitnami/apache2/conf/extra/httpd-ssl.confを以下の通り修正
# diff /opt/bitnami/apache2/conf/extra/httpd-ssl.conf /opt/bitnami/apache2/conf/extra/httpd-ssl.conf.20180321
293,295c293
< Include "/opt/bitnami/apache2/conf/bitnami/bitnami-apps-prefix.conf"
< </VirtualHost>
< Include "/opt/bitnami/apache2/conf/bitnami/bitnami-apps-vhosts.conf" --- > </VirtualHost>
# sudo /opt/bitnami/ctlscript.sh restart apache
Unmonitored apache
Syntax OK
/opt/bitnami/apache2/scripts/ctl.sh : httpd stopped
Syntax OK
/opt/bitnami/apache2/scripts/ctl.sh : httpd started at port 80
Monitored apache
ひとまず完成


