この記事は3年以上前に書かれた記事で内容が古い可能性があります
nginxでproxyサーバを立てる
2017-07-06
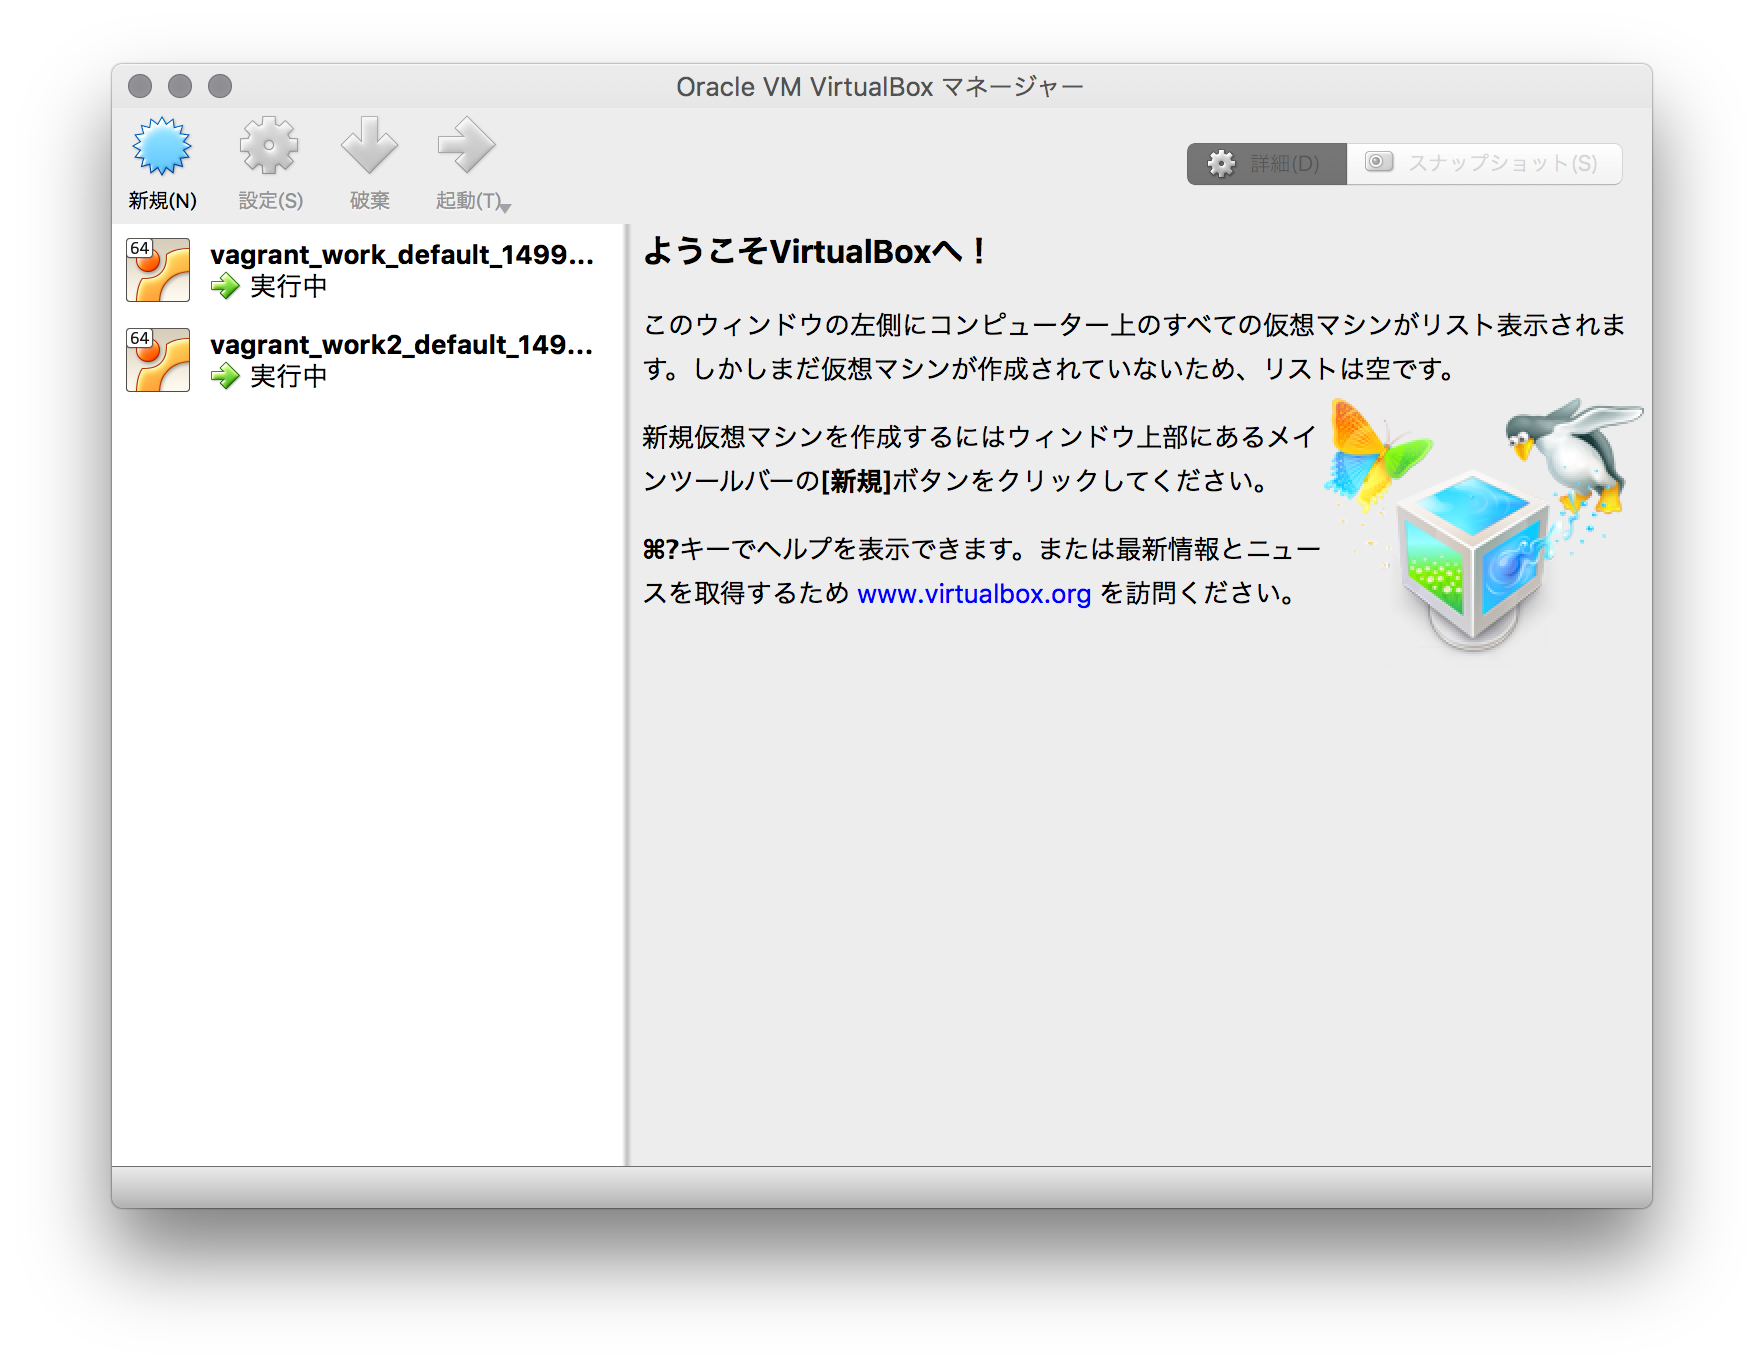
mac上のvirtualboxにvagrantでubuntuサーバを2台たて、両方にnginxをインストール。
1台はweb server、もう1台はsslのproxy serverとする。
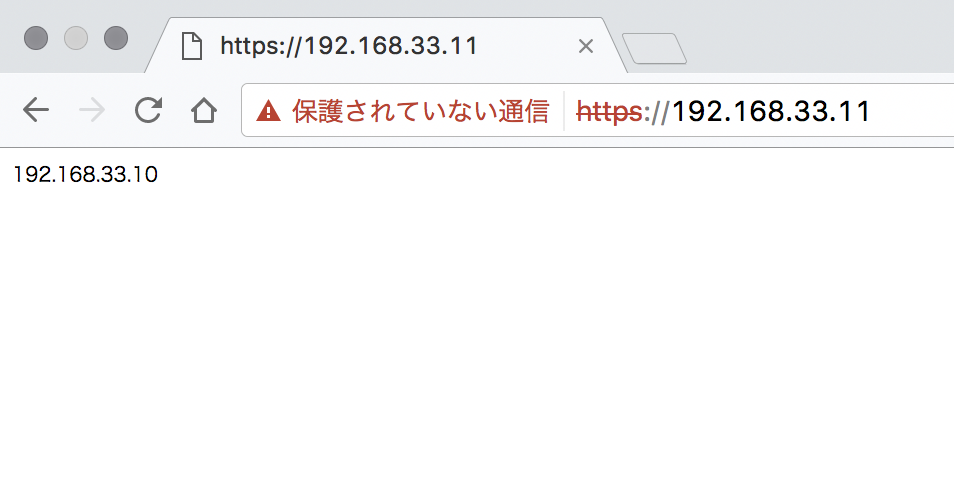
そうすると、proxy serverにhttpsアクセスすると、web serverのhttpページが表示される。
virtual boxをインストールされているところから。
■vagrantをインストールする。
https://www.vagrantup.com/downloads.html
% vagrant --version
Vagrant 1.9.6
■vmを立てる
□1台目
% cd
% mkdir vagrant_work
% cd vagrant_work
% vagrant init ubuntu/trusty64

A `Vagrantfile` has been placed in this directory. You are now
ready to `vagrant up` your first virtual environment! Please read
the comments in the Vagrantfile as well as documentation on
`vagrantup.com` for more information on using Vagrant.

% vagrant up --provider virtualbox
□2台目
% cd
% mkdir vagrant_work2
% cd vagrant_work
% vagrant init ubuntu/trusty64

A `Vagrantfile` has been placed in this directory. You are now
ready to `vagrant up` your first virtual environment! Please read
the comments in the Vagrantfile as well as documentation on
`vagrantup.com` for more information on using Vagrant.

% vagrant up --provider virtualbox
■IPを固定
□1台目
% cd
% cd vagrant_work

#★ファイルの中身以下の通り編集
% cat Vagrantfile
Vagrant.configure("2") do |config|
  config.vm.box = "ubuntu/trusty64"
  config.vm.network "private_network", ip: "192.168.33.11"
end

% vagrant halt
==> default: Attempting graceful shutdown of VM...
% vagrant up

#★確認
% ping -c 3 192.168.33.11
□2台目
% cd
% cd vagrant_work2

#★ファイルの中身以下の通り編集
% cat Vagrantfile
Vagrant.configure("2") do |config|
  config.vm.box = "ubuntu/trusty64"
  config.vm.network "private_network", ip: "192.168.33.10"
end

% vagrant halt
==> default: Attempting graceful shutdown of VM...
% vagrant up

#★確認
% ping 192.168.33.10 -c 3
■nginz install
□1台目
% cd
% cd vagrant_work
% vagrant ssh

# apt-get install nginx
# cp /usr/share/nginx/html/index.html /usr/share/nginx/html/index.html.backup

#★ファイルの中身以下の通り編集
# cat /usr/share/nginx/html/index.html
192.168.33.11
□2台目
% cd
% cd vagrant_work2
% vagrant ssh

# apt-get install nginx
# cp /usr/share/nginx/html/index.html /usr/share/nginx/html/index.html.backup

#★ファイルの中身以下の通り編集
# cat /usr/share/nginx/html/index.html
192.168.33.10
それぞれブラウザでアクセスできるか確認する
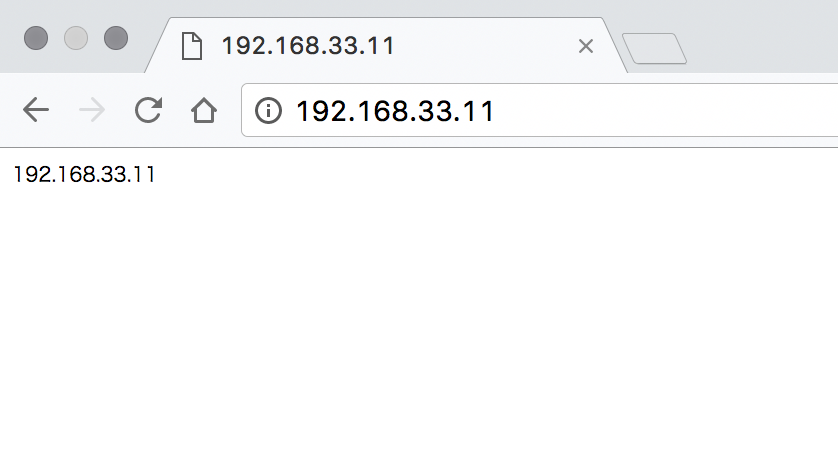
http://192.168.33.11
192.168.33.11と表示さるか
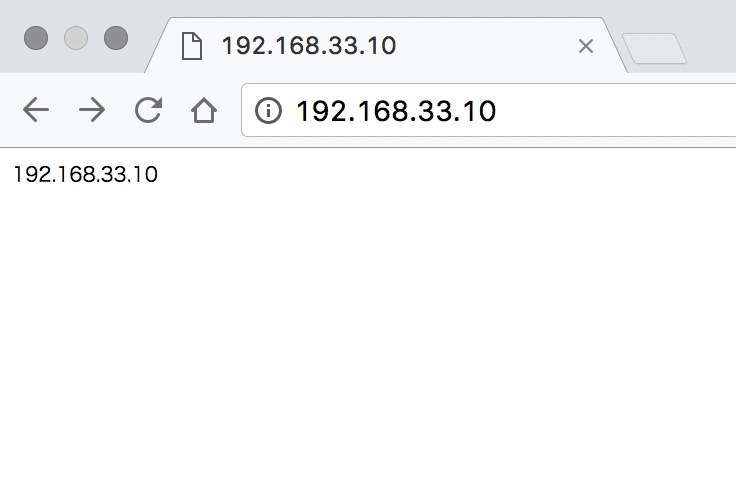
http://192.168.33.10
192.168.33.10と表示されるか
■proxy設定(http)
□1台目
#★ファイルの中身以下の通り編集
# cat /etc/nginx/conf.d/server.conf
server {
  listen 80;
  server_name 192.168.33.11;
  location / {
    proxy_pass http://192.168.33.10/;
  }
}

# service nginx restart
 * Restarting nginx nginx                                                [ OK ]
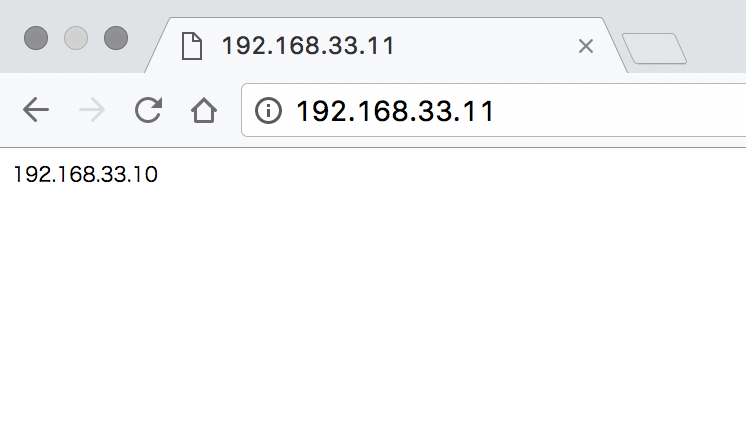
http://192.168.33.11
192.168.33.10と表示さるか
■proxy設定(https)
□1台目
# mkdir /usr/local/tmp
# cd /usr/local/tmp/
# openssl genrsa -des3 -out server.key 1024
Generating RSA private key, 1024 bit long modulus
Enter pass phrase for server.key:[1234]
Verifying - Enter pass phrase for server.key:[1234]

# openssl req -new -key server.key -out server.csr
Enter pass phrase for server.key:[1234]
You are about to be asked to enter information that will be incorporated
into your certificate request.
What you are about to enter is what is called a Distinguished Name or a DN.
There are quite a few fields but you can leave some blank
For some fields there will be a default value,
If you enter '.', the field will be left blank.
-----
Country Name (2 letter code) [AU]:
State or Province Name (full name) [Some-State]:
Locality Name (eg, city) []:
Organization Name (eg, company) [Internet Widgits Pty Ltd]:
Organizational Unit Name (eg, section) []:
Common Name (e.g. server FQDN or YOUR name) []:
Email Address []:

Please enter the following 'extra' attributes
to be sent with your certificate request
A challenge password []:
An optional company name []:

# cp server.key server.key.org
# openssl rsa -in server.key.org -out server.key
Enter pass phrase for server.key.org:
writing RSA key

# openssl x509 -req -days 365 -in server.csr -signkey server.key -out server.crt
Signature ok
subject=/C=AU/ST=Some-State/O=Internet Widgits Pty Ltd
Getting Private key

#★確認
# ls
server.crt  server.csr  server.key  server.key.org
# pwd
/usr/local/tmp

#★ファイルの中身以下の通り編集
# cat /etc/nginx/conf.d/server.conf
server {
  listen 80;
  server_name 192.168.33.11;
  location / {
    proxy_pass http://192.168.33.10/;
  }
}

server {
  listen       443;
  server_name  192.168.33.11;

  ssl                  on;
  ssl_certificate      /usr/local/tmp/server.crt;
  ssl_certificate_key  /usr/local/tmp/server.key;
  ssl_protocols  SSLv2 SSLv3 TLSv1;

  location / {
    proxy_pass http://192.168.33.10/;
  }
}

# service nginx restart
 * Restarting nginx nginx                                               [ OK ]
https://192.168.33.11
192.168.33.10と表示さるか
